Installing a USB connector or cigarette lighter on a motorcycle
Content
Installing a USB or cigarette lighter socket on a motorcycle
This mechanic guide is brought to you at Louis-Moto.fr.
A USB or cigarette lighter socket is very practical. Moreover, it is not that difficult to install it on a motorcycle if you know how to do it.
Mounting on a motorcycle usb or cigarette lighter socket
In this mechanics guide, we'll show you how to install a USB or cigarette lighter socket to supply power to your GPS, smartphone, and other devices in the cabin or elsewhere on your motorcycle in just a few steps.
To get started, you need an outlet with the desired connectivity (USB connector, standard small outlet, or cigarette lighter plug). You will find them on our website: www.louis-moto.fr. Then you need to find a suitable place on your motorcycle to install the socket, depending on the additional device you want to connect. You can mount the socket on the steering wheel, on the frame, under the base plate, or even in the passenger compartment. In addition to supplying power to external consumers, the socket can also be used to recharge the car battery if it is a maintenance-free model and you are using an appropriate charger adapter.
Warning: professional knowledge of the electrical equipment of cars is an advantage when assembling the socket. You have to make sure you can edit yourself.
Installing an on-board outlet on a motorcycle - let's go
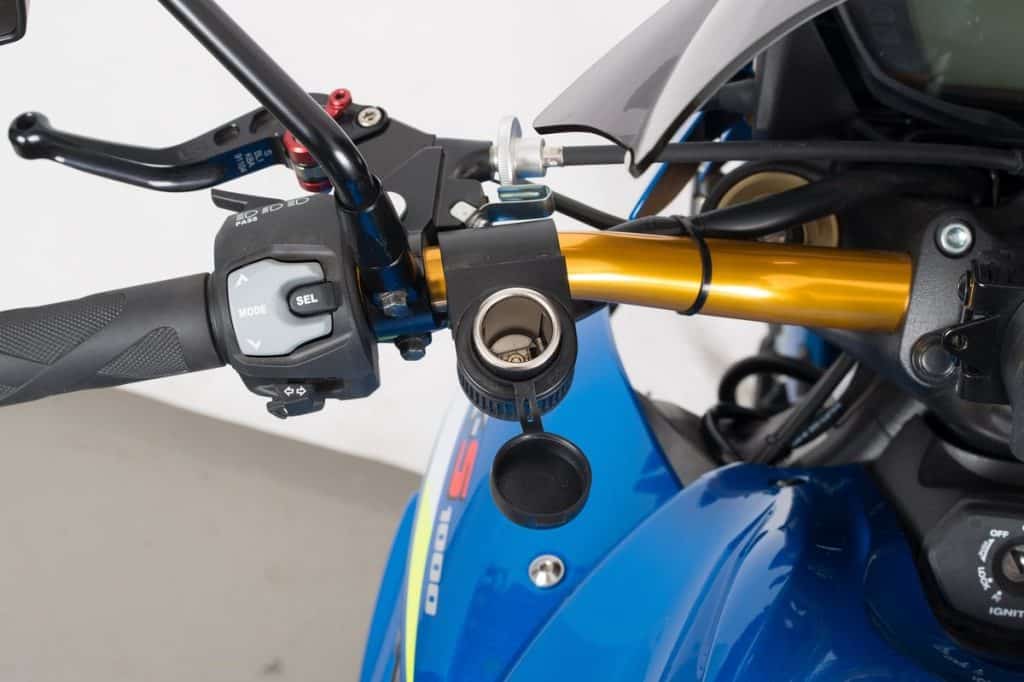
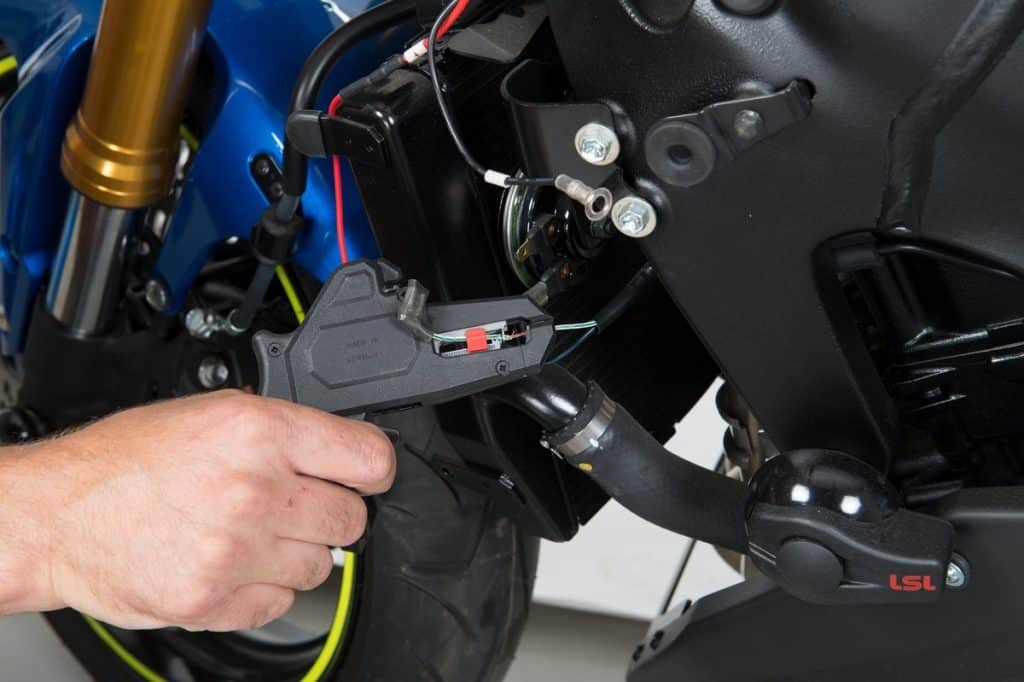
01 - Choose a build site
Start by choosing the location of the outlet. Then you have to consider the limited cable length. The cable must be long enough to reach the battery.
If the socket will be used primarily to charge the battery, it can also be installed next to the battery, for example. on the frame tube under the side cover. Select a location where the back of the outlet is protected from splashing water. The plug must be secured. It would be unworthy of a good mechanic to simply leave it hanging at the end of a cable, and it could be dangerous, it could be thrown and tangled in inappropriate places while driving. In the worst case, it can even get stuck on the shelves ...
For attaching to a handlebar or frame, in most cases you can use the supplied mounting clamp. The plug and cable must not interfere with the steering. On standard 22mm metric handlebars, use a rubber pad to secure the clip. For thinner tubes, for example. for frames you should install a rubber or metal spacer if necessary to reduce the diameter.
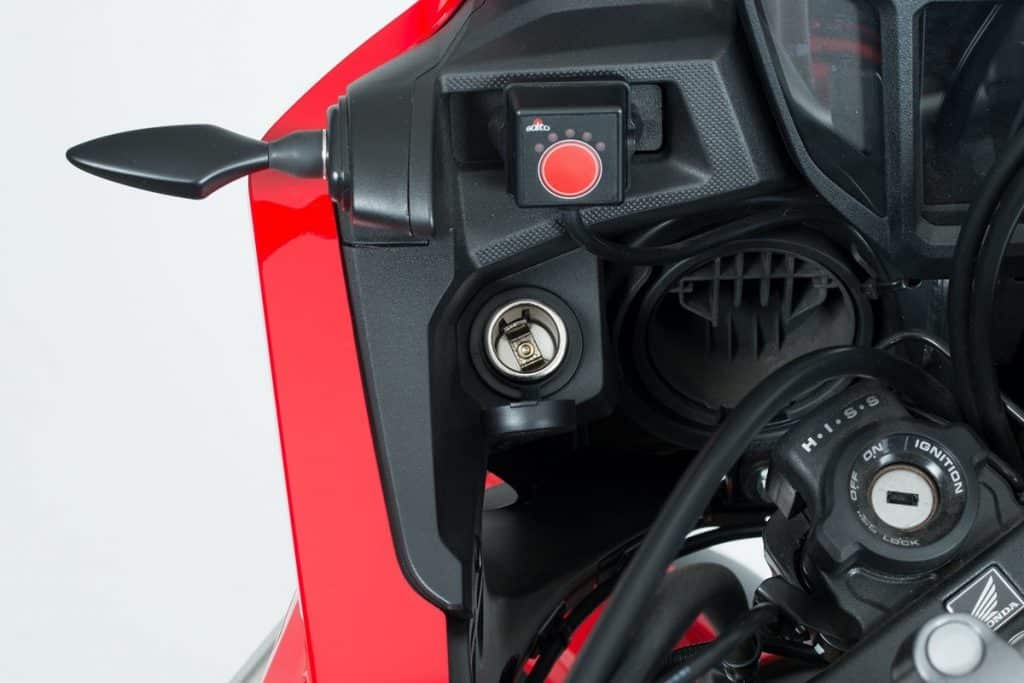
When installed in the cabin, on the dashboard or on a mounting bracket, logically, a clamp is not required. In this case, you need to drill a hole of the appropriate size (the diameter data can be found in the assembly instructions for the socket), and then secure the socket from below with a knurled nut.
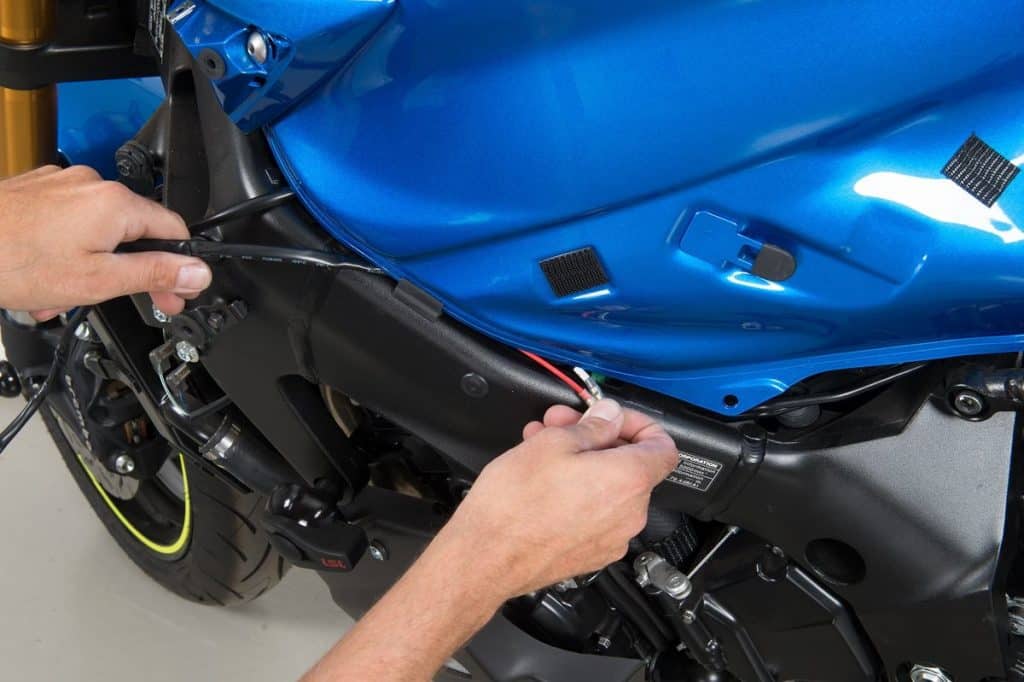
02 - Cable laying
Then you have to run the connecting cable towards the battery. This may require removing the tank, seat, side cover, or other.
Make sure that the cable is not pinched anywhere (for example, at the maximum angle of rotation). In addition, the cable must be kept at a certain distance from hot parts of the motor and all moving parts.
It is imperative that it is sufficient to secure the cable with cable ties, if possible in the color of the surrounding parts. The result is more elegant!
03 - Connecting the on-board socket
You have two options for connecting the positive cable: directly to the battery or above the positive ignition cable. In all cases, a line fuse must be installed.
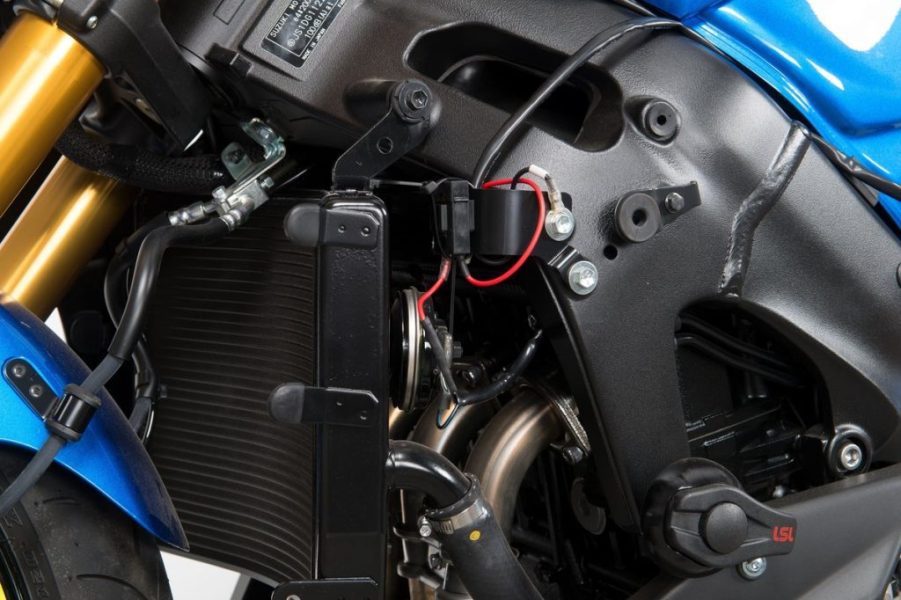
Connecting directly to the battery
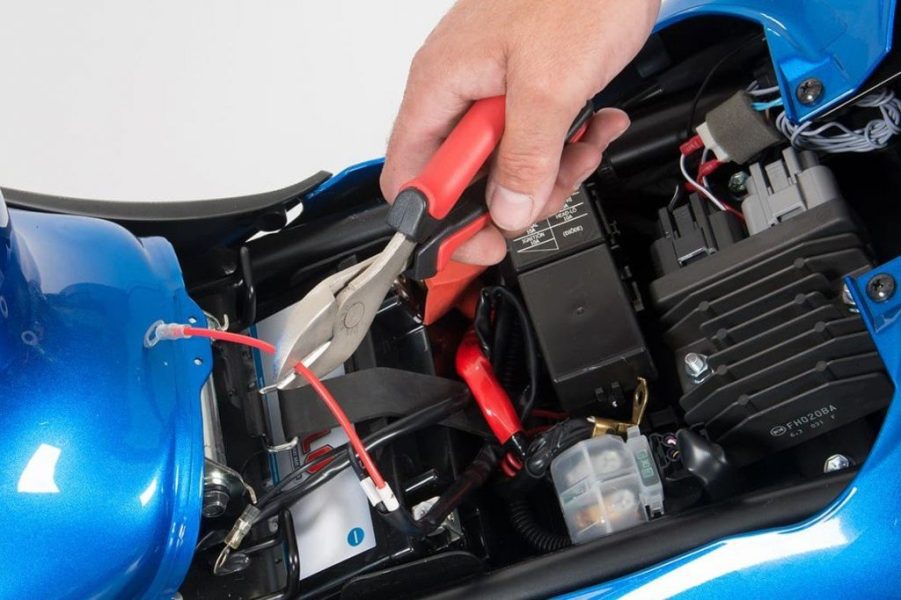
If you want to charge the battery through an outlet, for example. when using the ProCharger, we recommend connecting it directly to the battery. This method is also useful if you want to charge your devices when you are not driving.
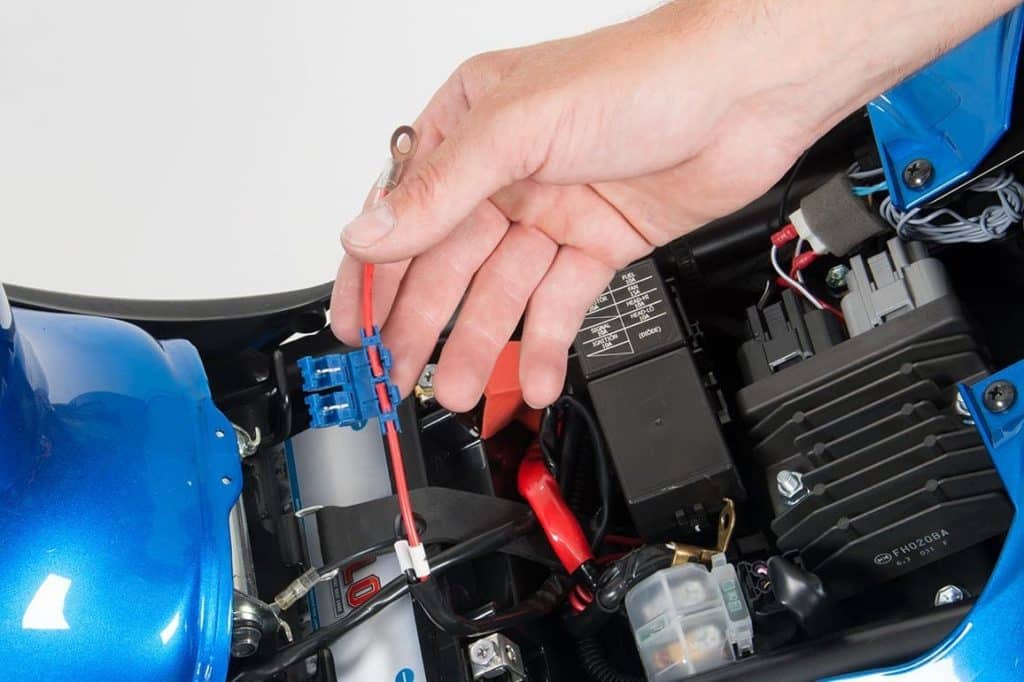
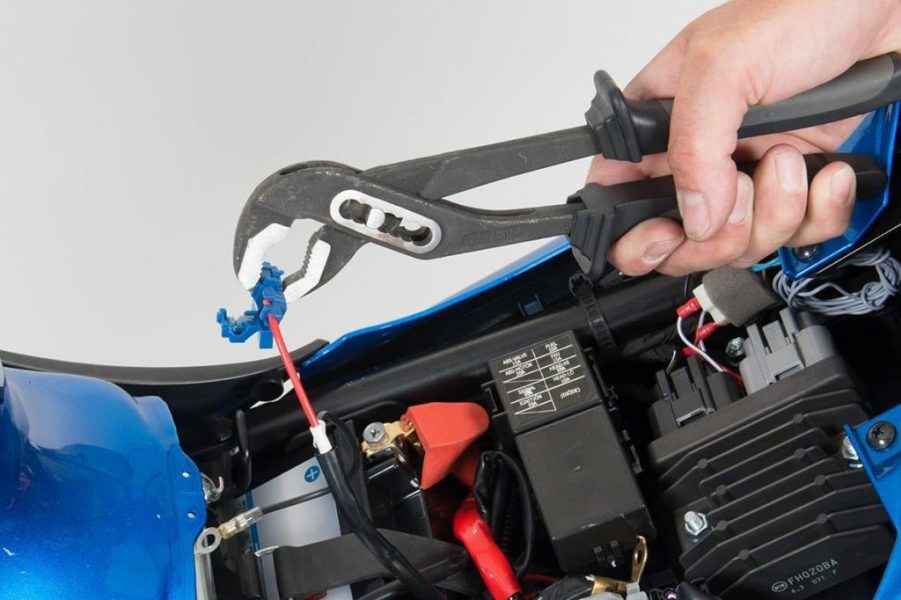
To connect the terminals to the battery, you must turn off the ignition. First, choose a suitable place to install the small flywheel fuse holder (for example, under the side cover). There are different types of fuse holders. In the case of the fuse holder shown, cut the + (red) cable from the socket, then place the two ends of the cable on the metal pins of the fuse holder and pinch the latter so that they fit into the socket. contact. You should hear an audible click.
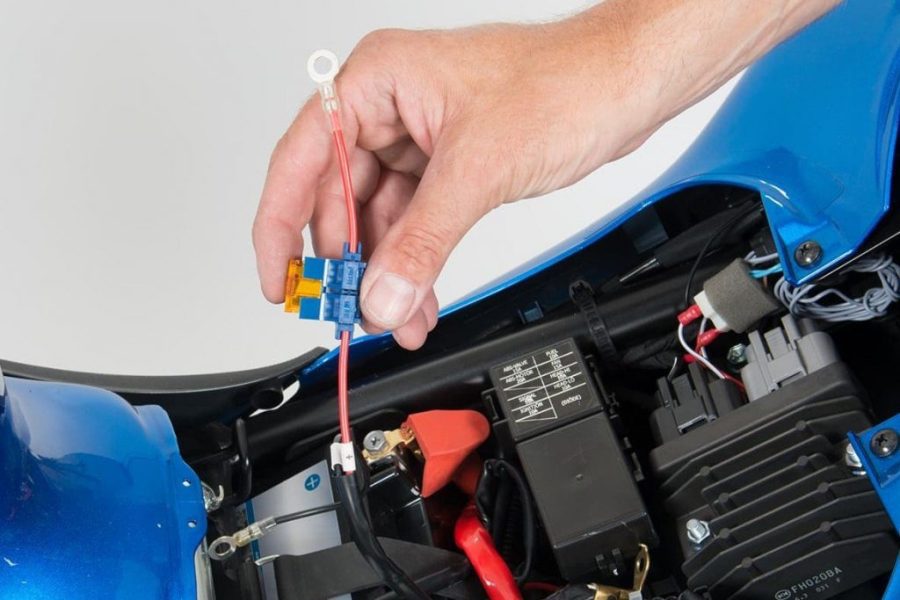
Then insert a 5A fuse into the holder.
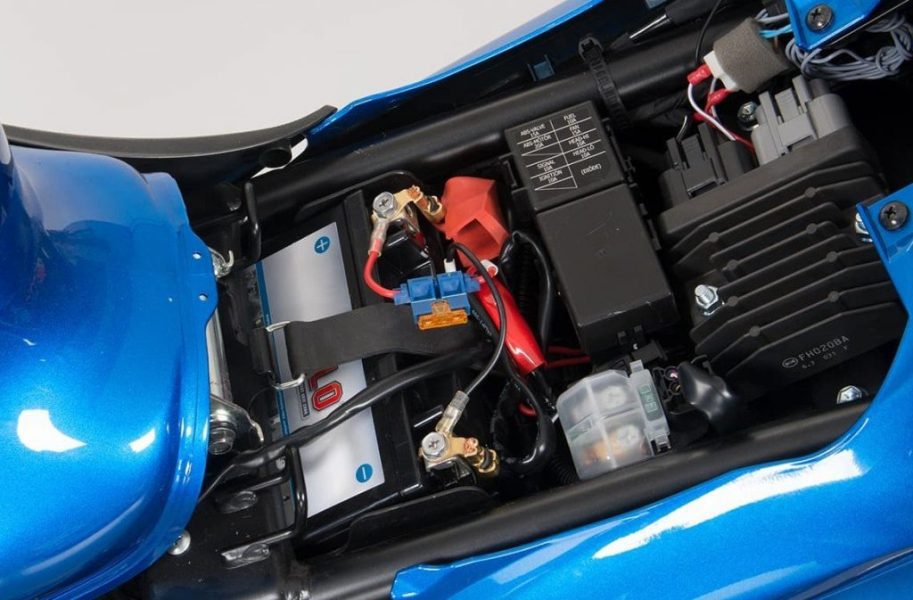
Now screw the terminals to the battery. To avoid the risk of short circuits when touching the tool and frame, first disconnect the ground cable from the negative terminal of the battery and then the cable from the positive terminal. Then connect first the red cable to the + terminal and then the black cable to the - terminal.
Connection to + ignition switch
The advantage of this connection method is that unauthorized persons cannot use the outlet. In fact, the socket only supplies current when the ignition is on. DO NOT connect any additional cables to power critical components (such as lights or ignition coils). We recommend connecting these components to an audio cable instead.
It is also important to turn off the ignition here. Then connect the red + cable from the wall socket to the audio signal cable.
We'll tell you in detail how to best make this connection in our mechanical advice. Cable connections. In our example, we connected the cables using a self-welded connector.

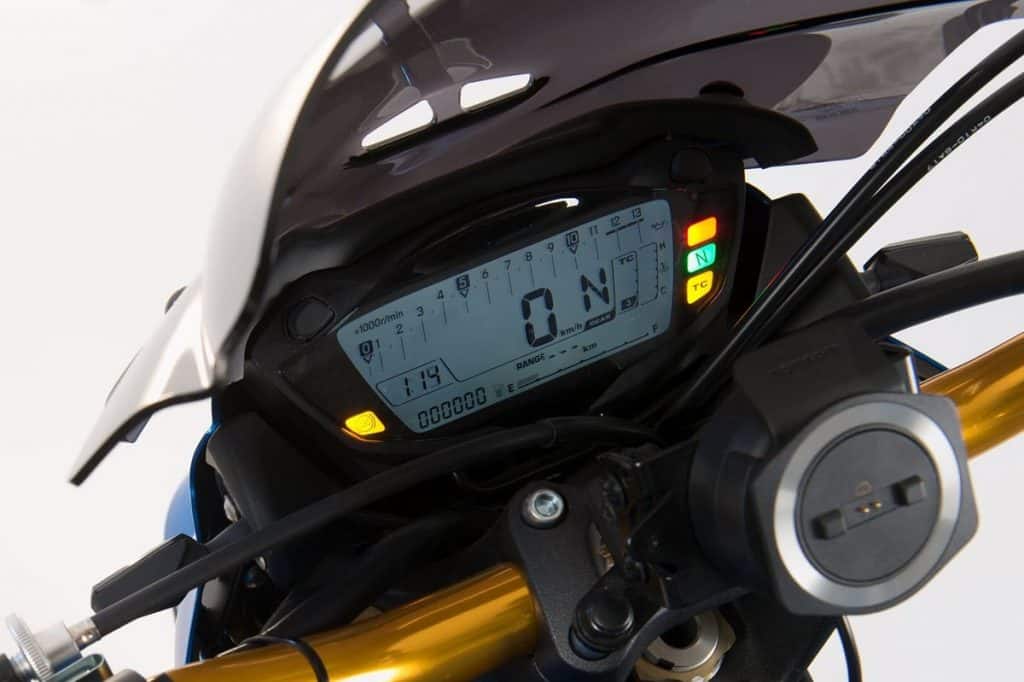
04 - Function test
Then make sure all parts of the outlet and electrical circuits of the motorcycle are working properly before reassembling any disassembled parts on the vehicle.
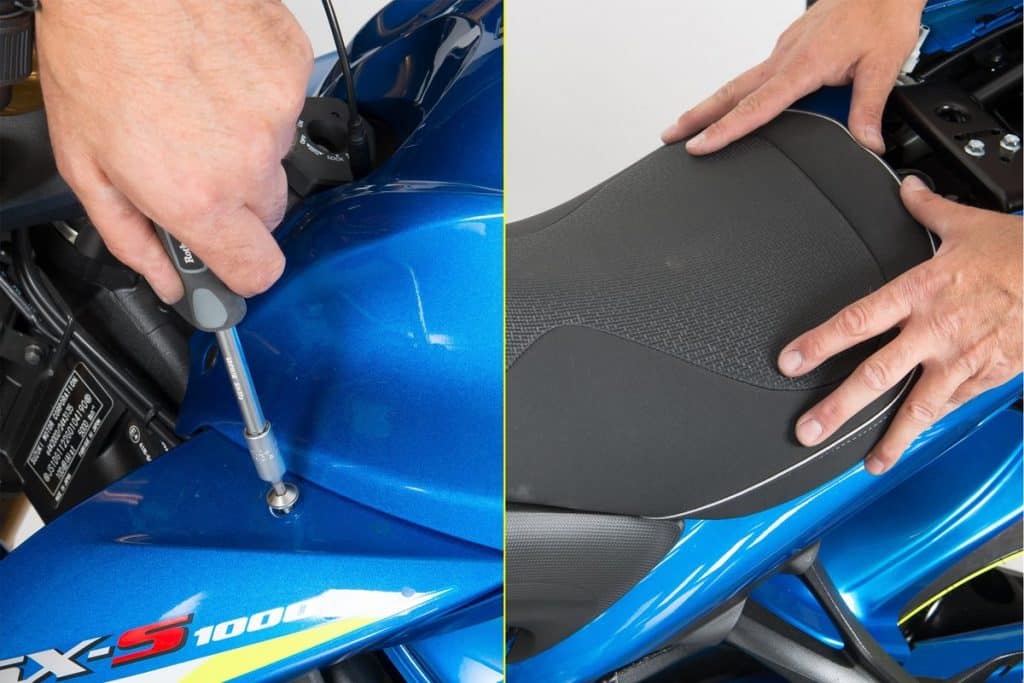
05 - Reassemble fairing or saddle
Then place all the previously removed parts onto the motorcycle.
06 - Check the electrical system again
As a safety measure, check all electrical functions again before setting off. Safety first!
The note : Keep the plug closed when not in use to prevent rainwater or dirt from collecting in the plug.
Bonus tips for true DIY enthusiasts
To loosen and tighten ...
In what order should I proceed? By right? Left? However, this is not the point! Rather, the question is in what order to loosen multiple threaded connections (eg housings). The answer is simple: do the opposite! In other words: Proceed in the reverse order of that indicated in the manual or on the component to be tightened. Then you can't go wrong.
Use a rug
The concrete floor in your workshop is certainly great, but your best bet is to tinker with a carpet that may be a little worn out but still usable. Your knees will appreciate some comfort. And the parts that fall on it will not be damaged. It also absorbs oil and other liquids quickly. And against frozen feet, these old floor coverings have proven themselves more than once.
Louis Tech Center
For all technical questions regarding your motorcycle, please contact our technical center. There you will find expert contacts, directories and endless addresses.
Mark !
Mechanical recommendations provide general guidelines that may not apply to all vehicles or all components. In some cases, the specifics of the site can vary significantly. This is why we cannot make any guarantees as to the correctness of the instructions given in the mechanical recommendations.
Thank you for your understanding.