How to install a car antenna
Content
- The main types of car antennas
- Choosing a location
- Step-by-step instructions for installation inside the cabin
- Roof installation step-by-step
- How to properly connect (connect) and install an active antenna to the radio in the car
- How to choose an antenna for a radio tape recorder
- Overview of Popular Active Car Antennas
- Questions and answers:
Music in the car is an integral part of comfort, especially if the trip lasts more than one hour. Some people upload their favorite tracks to removable media, and scroll them in a circle, which eventually gets boring. Radio (a function that is present in the overwhelming majority of car radio models) allows you not only to create background music, but also to find out the latest news in Ukraine or in the world.
But the device of any radio lies in the fact that it will not pick up the signal if the radio antenna is not connected to it. If the car is located in a big city, for example, Kiev, then there will be no problems with the signal even when the radio tape recorder is equipped with the most primitive antenna. But when the car leaves the metropolis, another antenna is already required, which would help the radio to pick up a weak signal.
Many auto antenna options can be found in auto accessories stores. Let's try to figure out what is the difference between them, how to connect them correctly. We will also consider the features of installing an indoor or outdoor antenna. The scheme for each of them will be different.
The main types of car antennas
Contrary to popular belief that an auto antenna is needed only for playing a radio station, this car multimedia system element is also needed if a TV or a head unit with a navigator function is installed in the vehicle.
The list of the main types of car antennas includes:
- Passive type;
- Active type;
- Adapted to receive GPS signals;
- External option;
- Internal view.
Each of the listed types has its own characteristics. Let's consider each of them separately. The easiest way to connect is a passive antenna. To do this, it is enough to lay a wire inside the passenger compartment so that it does not interfere with the control of the car, and connect the plug to the radio tape recorder.
Active antenna
This type of car radio antenna has its own amplifier. It provides better reception of a weak signal and cleaning it from interference. The circuit of such a device will include not only the antenna wire, but also the power cable. You can connect such an antenna to the radio tape recorder like this:
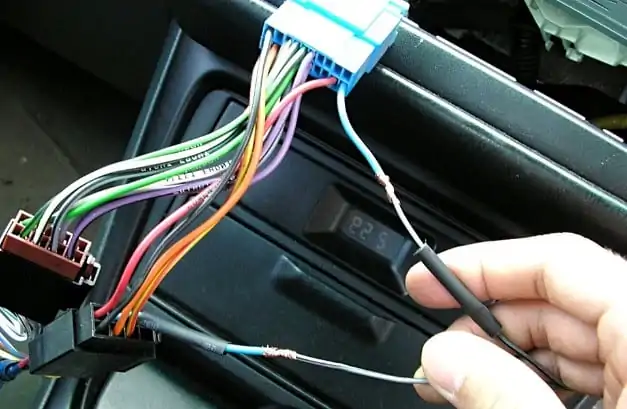
- It is necessary to find a power wire in the antenna harness (it supplies power to the amplifier). About which wire is responsible for what is specified in the operating instructions for the active antenna.
- It must be connected to a blue wire with a white stripe (goes to the radio). This is the cable that is responsible for the remote control of the car radio.
- These wires can be connected to each other using chips, twisting or soldering. If a chip is not used, then the junction must be properly insulated. To do this, you can use electrical tape, but it is much more practical to do this with a shrink cambric.
- Now you can connect the antenna plug to the radio and tune the radio.
With a correct connection, such a circuit will be able to catch radio signals from a radio station located at a distance of approximately 60 km from the receiver. If the active antenna is equipped with an indicator light (small red light), then it should light up when power is supplied to the car radio.
If there is no signal from the antenna (no radio station is played), it is necessary to check the connection of the receiver's power cable. It so happens that the car radio does not have a blue wire with a white stripe. In this case, you need to install a separate button for turning on the antenna itself.
It is more practical for the switch to have an individual illumination that will light up when the button is powered up. This will remind the driver to turn off the antenna every time he is not using the device. Thanks to this, the constantly operating antenna amplifier will not consume battery energy and also heat up.
The scheme is as follows. A wire connected to the power cable of the car radio sits on one contact of the button (goes to the positive terminal of the battery). The supply wire of the antenna amplifier sits on the second contact of the switch. The negative wire of the antenna sits on the ground in the immediate vicinity of the amplifier.
GPS antenna
Connecting a GPS antenna is performed in the same way as installing any other receiver. To connect such an antenna to the radio, it is necessary to dismantle the turntable from the mounting shaft. Read how to do this. in another review... This is necessary in order to have access to the jacks, including the antenna.
Depending on the car model and the preferences of the motorist, the dashboard or part of the panel is dismantled. This is necessary for routing the antenna cable. Of course, this can be done without dismantling work, if it is difficult to do it in a particular car or if you are not sure that the work will be done correctly so that you do not have to repair the car panel later. It is possible to lay the cable in the openings between the panel elements, and fix it with clip clamps.
If terminals with screws are used on the back of the radio, then before connecting the wires, they must be well cleaned so that there is good contact. Some car radio models use crimp terminals. In this case, the wires also need to be well cleaned, twisted together and tightly inserted into the mounting hole. Then the retainer is clamped.
If the GPS antenna is connected correctly, at the moment the navigator is turned on, the device will immediately show the real location of the car. If this does not happen, it is necessary to re-check the correctness of the connection of the receiving element to the head unit. When using a navigator with a separate antenna, it is important to remember that there are no bulky metal objects (panels or boxes) next to it. Otherwise, they will cause interference and the device will not work properly.
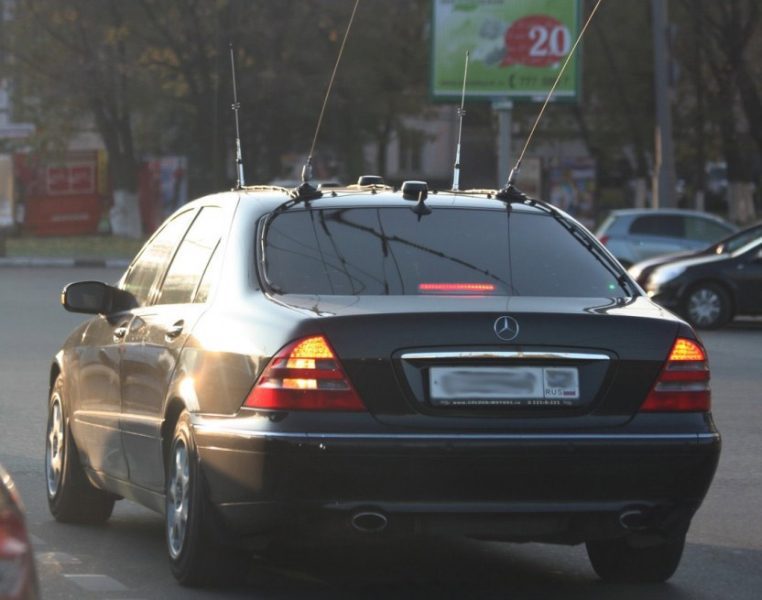
Outdoor antenna
Before connecting such an antenna to the radio, you must properly attach it to the car. If this is a modification intended for installation at the highest point of the car, then it is necessary to ensure the tightness of the installation site of the device. The roof in the car must not leak. Otherwise, when it rains, water may drain behind the dashboard or onto the wiring unnoticed by the driver. Because of this, at the most inopportune moment, the machine will cease to function correctly, since some system will stop working due to a short circuit or loss of contact. In some auto models, the cost of repairing an electrical circuit is similar to the capital of a motor.
Next, the antenna cable is laid behind the panel to the radio tape recorder. So that during the ride the cable does not create noise from vibration and contact with plastic surfaces, it is better to fix it in several places.
The antenna cable is very sensitive to excessive bending (the metal shield of the signal core may be damaged and not protect it from external interference). For this reason, the installation work must be carried out carefully, without pulling the cable and not applying excessive force if it is not pulled between the panel elements. The wire is connected using a standard plug or a suitable adapter if the socket and plug do not match.
Internal antenna
The intra-cabin type of antennas is connected in a similar way, but the installation work in this case has some subtleties. For example, some of these antennas, which are installed inside the car, are equipped with an additional ground wire. It should be fixed on the car body as close as possible to the receiver itself.
If the antenna is installed near a sun visor, the grounding can be fixed with a self-tapping screw that holds this visor. Thanks to this, there will be no need to make additional holes in the car body. The use of a ground wire allows you to reduce interference from atmospheric phenomena or electrical appliances operating nearby (without it, the amplifier will not turn on).
Any type of external or internal antennas has a general connection principle, but in each case, the installation will have its own subtleties. And for the most part, these differences are associated with the design features of the devices.
Choosing a location
As we have already noticed, there are passive and active antennas. Their functional difference is only in the presence of an amplifier that provides reception of weaker signals and cleans them of interference.
For a passive antenna to be able to pick up radio stations at a great distance, it must have a much larger contour than the version with an amplifier. With an additional receiver and shielding element, the active antenna is smaller and can be installed anywhere within the vehicle. The receiver itself is fixed to the surface using double-sided tape.
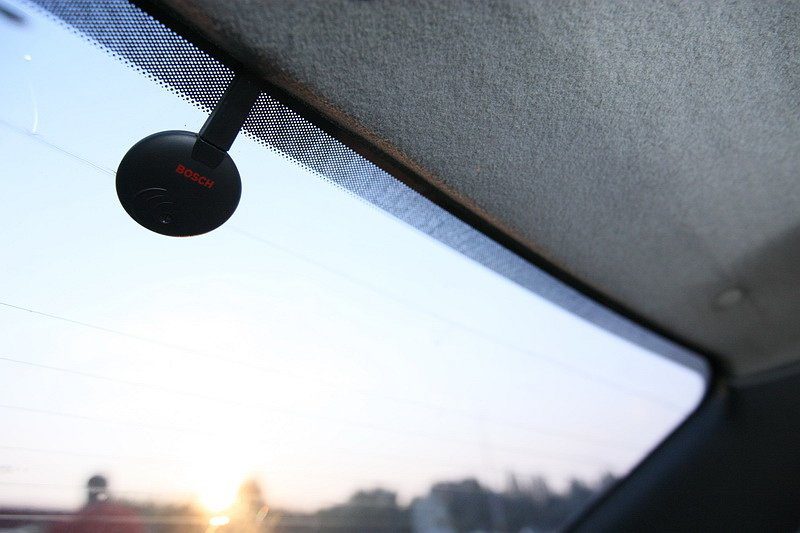
Most often, the active antenna contour is installed on the top of the windshield. Some people mount it on the rear window, but in this case, you will have to run the cable through the entire cabin. If the car is equipped with a heated rear window, then its circuit can interfere with the reception of signals.

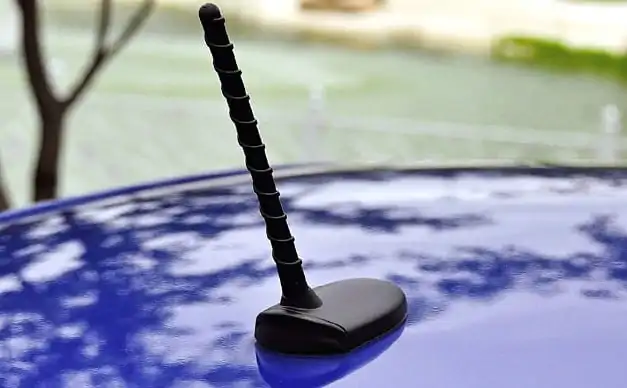
The advantage over the reception is the rooftop antenna installation. But in this design, it is necessary to correctly ensure the laying of wires. They should not be permanently kinked unless a hole is drilled in the roof. And if a ready-made hole from an old antenna is used, then it is imperative to protect the cabin from water entering the cabin through it.
When choosing a place to install the antenna, you must adhere to the basic recommendations:
- The cable should be hidden under the casing and behind the panels. This is important not only for aesthetic reasons. Wires hanging throughout the passenger compartment are a potential hazard while driving.
- Metal parts should not be exposed to moisture, therefore, the junction of the wires should be as far away from sources of moisture as possible. The attachment points to the body must be well cleaned.
- Wires, especially those transmitting radio signals to the radio, should not pass near electrical appliances and other sources of interference or shielding elements.
How long should the connected antenna be for reliable reception?
Confident reception means the ability of the receiver to pick up even weak signals without interference (as far as possible in some cases). An important parameter for the receiver is its sensitivity. This concept describes the minimum signal that a device can transmit to a player without interference with the original quality (that is transmitted to radio stations).
With an increase in the length of the receiving antenna loop, the electromotive force increases, and the device must have a proportionally lower sensitivity. But in this case, the opposite rule may also apply: an excessive antenna length can, on the contrary, reduce the ability of the receiver to transmit a clean signal to the radio tape recorder.
The reason is that the size of the receiving antenna contour must be a multiple of the amplitude of the radio wave that needs to be caught. The greater the amplitude of the wave, the larger the receiving loop should be at the antenna.
So, the first important condition: if the antenna picks up the signal with high quality, then you better not do it by increasing the contour of the device. The second important factor that will help determine how long the antenna should be is the ability of the receiver to filter the useful signal from the useless one.
That is, the antenna must determine which signal is coming from the radio station, and which is a simple interference, and it needs to be filtered. If you increase the length of the antenna, then the EMF will increase, and the interference will increase along with the useful signal.
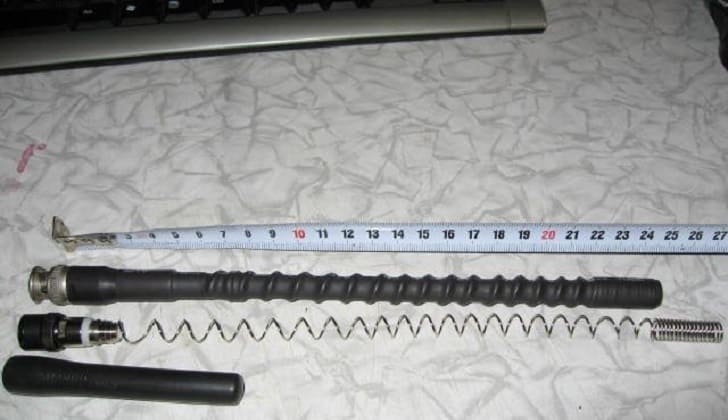
These two factors depend on the receiver module model. Each manufacturer manufactures devices capable of picking up certain signals in specific conditions (city or countryside). To use the receiver in a city, it is enough that the antenna has a sensitivity within 5 µV, and its length is about 50 centimeters. Such a device will provide reception of a signal from a radio station located 40-50 km away from the receiver.
But these parameters are also relative, since every large city has its own sources of interference, and it is almost impossible to create a device capable of transmitting the purest possible signal in any conditions. Of course, modern companies engaged in the development and production of such equipment are gradually eliminating this drawback, but it still occurs in modern antennas.
In addition to extraneous sources of interference, the reception of the signal from the radio station is also affected by the peculiarity of the landscape of the area in which the car is located. Everyone knows that the radio signal is of the highest quality on a hill, but in a hole it is practically impossible to catch it. It can also bounce off reinforced concrete structures. Therefore, no matter how long the antenna is, there may simply not be a signal behind the metal structure, and it cannot be caught in any way.
Step-by-step instructions for installation inside the cabin
Naturally, the subtleties of connecting the antenna depend on the design features of the device. They are usually indicated by the manufacturer in the operating instructions. But here are the main steps that are important to take when installing the antenna in the cabin:
- The joints of wires or grounding must be cleaned, and also treated with alcohol (degreased);
- A mounting frame is located at the installation site, if it is included with the device. It will ensure the correct position of the antenna;
- The antenna body is fixed, the frame is dismantled;
- Strips are glued to the surface to fix the antenna antennae. It is more practical to do this by gradually peeling off the protective film, and at the same time pressing the antennae;
- The cable is being laid. To do this, it is necessary to remove a part of the casing from the rack on which the windshield is fixed (if the antenna is installed on the windshield);
- To make it easier to install the casing in its place, it is better to fix the wire on the rack;
- Depending on the car model, further partial dismantling of the dashboard or glove compartment may be required;
- The radio tape recorder is removed from the mounting shaft so that there is access to the rear panel for connecting the antenna plug and wire contacts;
- In the ISO connector, we are looking for a blue wire with a white stripe. The power supply wire of the antenna amplifier is connected to it;
- The signal wire is connected. For this, different fasteners can be used: screw or clamping clamps;
- The head unit turns on. In this case, a signal light (small, red or blue) should light up on the receiver of the active antenna;
- Find a radio station on the radio and make sure the signal is clear;
- At the end of the work, a radio tape recorder is installed in place;
- The glove compartment and the removed part of the lining are attached back. When fixing it with self-tapping screws, you need to be careful not to damage the wire.
Roof installation step-by-step
When installing the antenna receiving loop on the roof, it is necessary to use a cable with a screen with a resistance of 75 Ohm. Here is the sequence in which it is necessary to install such an antenna model:
- If there was no old antenna on the roof, then two holes must be made in it. The diameter of one should correspond to the cross-section of the wire (with a small margin to make it easier to thread the cable). The second should be the same diameter as the antenna housing mounting bolt. On some models, the cable runs inside the mounting bolt. In this case, one hole is sufficient.
- For high-quality grounding of the device, the metal part of the roof from the passenger compartment must be cleaned.
- So that water does not leak into the interior through this hole, and the metal does not rust, the hole is treated with a waterproof sealant from the outside, and mastic from the inside.
- An insulator is made before installation. This is a spacer made of copper washers, between which fluoroplastic analogs are installed. Antenna cable is soldered to them (this design depends on the antenna model).
- If the cable is soldered to the insulator, this place must be protected from moisture (put on a sealant).
- An antenna is installed (in addition, between its base and the roof, you can use not only a rubber gasket, but also a sealant). It is fixed with a nut from the passenger compartment.
- The cable is laid according to the same principle as the version installed in the cabin.
- The cable is connected to the radio tape recorder, and its performance is checked.
How to properly connect (connect) and install an active antenna to the radio in the car
So, we have already figured out that the first thing you need to pay attention to before installing the antenna is to determine where in the cabin it will be most practical to install it. The body of an active antenna or antennae of a passive analogue is attached with double-sided tape.
Most models of receiving devices have two wires (in some they are in the same bundle and are protected by a metal screen). One - signal, and is connected to the radio socket (wide plug at the end). The other is the power cable, and connects to the corresponding wire that goes from the battery to the head unit.
Many models also have a third wire. It is usually black and has no insulation at the end. It must be fixed to the mass of the car (body part of the transport). An important condition in this case will be to fix the mass as close as possible to the antenna amplifier.
In many modern car radios, instead of the usual antenna connector, another connector can be used. If the antenna plug does not fit, then you will need to buy the corresponding plug. Its price is usually not high, so it is much easier to use an adapter than to be smart and tinker with soldering on your own. Although there are some craftsmen who never look for easy ways.
Here is a short video on how to connect an antenna to a radio tape recorder:

How to choose an antenna for a radio tape recorder
First of all, the purpose of the device affects the choice of antenna. As we paid attention a little earlier, the antenna is installed in the car not only for listening to radio stations. For an ordinary car radio, a simple auto antenna is enough.
If the driver bought a mini TV in the car, then he is entitled to a more modern and functional antenna. In contrast to the functionality of this accessory, only its high cost can be put. But there are also universal models that are capable of receiving a conventional radio signal, catching television channels (if there is such a broadcast in a particular area), as well as GPS signals (connected to a navigator or a head unit that has the appropriate function).
So, before choosing a new antenna, you need to decide on its purpose. The second thing to pay attention to is the conditions in which the machine is operated (countryside or city). This will affect the power of the device.
Overview of Popular Active Car Antennas
Here is a list of active in-car antennas popular in 2021:
| Model: | Box & Papers: | Advantages: | Disadvantages: |
Bosch Autofun PRO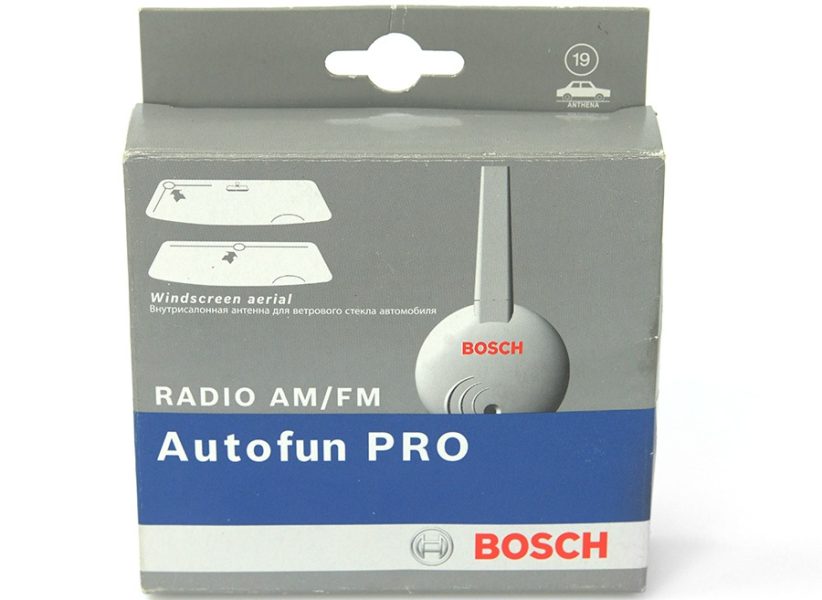 | Radio signal receiving element; Antenna housing made of plastic; Gel for grounding the device; Receiver module; Double-sided tape stickers; Fastening. | Small size; Cleans the radio signal qualitatively; High-quality assembly; 3 meter cable. | Expensive; If installed incorrectly, it gets very hot. |
Blaupunkt Autofun PRO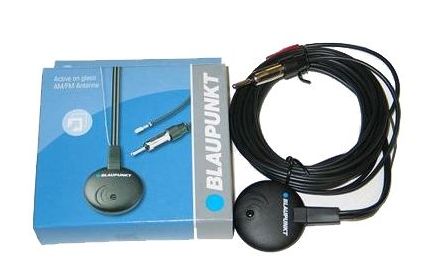 | Fastening; Double-sided tape; Receiving module housing; Self-tapping screws; Grounding grease (prevents corrosion). | Receives signals in the range of DV, MW, FM; Shielded cable 2.9 meters long; Separates signals of the corresponding ranges qualitatively. | The backlight shines brightly. |
Triad 100 Gold | Receiving module; Belts with a contour of the receiving element, equipped with double-sided tape. | Reception of signals at a distance of up to 150 kilometers; Not susceptible to voltage drops; The ability to work in an electrical circuit with a voltage of 9 to 15 V; Equipped with a double filter that prevents the formation of interference from the internal electrical circuit of the car; High-quality assembly; Great working resource. | The cable is somewhat shorter than the previous versions - 2.5 meters. |
Triad 150 Gold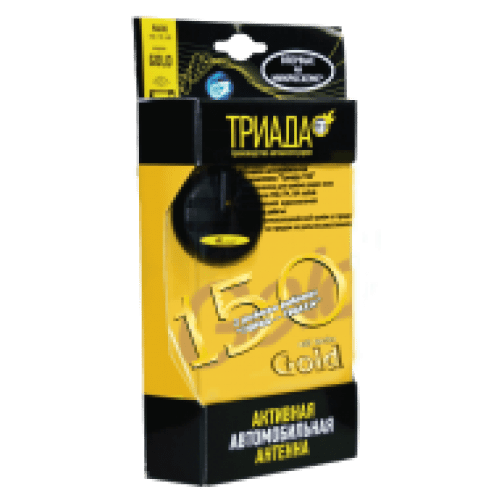 | Receiving module; Tapes with a contour of the receiving element, equipped with double-sided tape, adapted for 90- or 180-degree mounting. | In terms of signal quality outside the city, it even surpasses the Bosch or Blaupunkt models; Good amplification and signal cleaning; The ability to pick up a signal at a distance of up to 150 km to the repeater; High-quality assembly; Durability. | Short cable - 2.5 meters. |
Here is a list of active external car antennas popular in 2021:
| Model: | Set: | Advantages: | Disadvantages: |
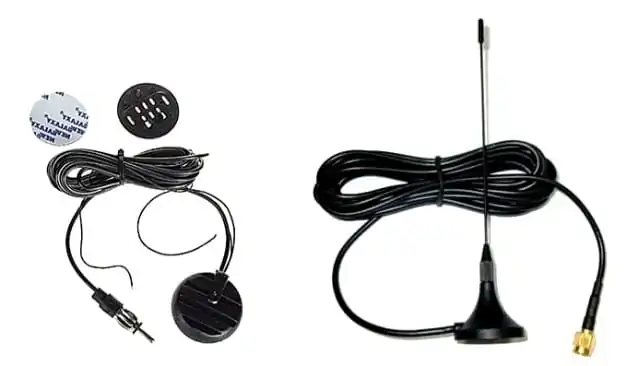
AVEL AVS001DVBA 020A12 Black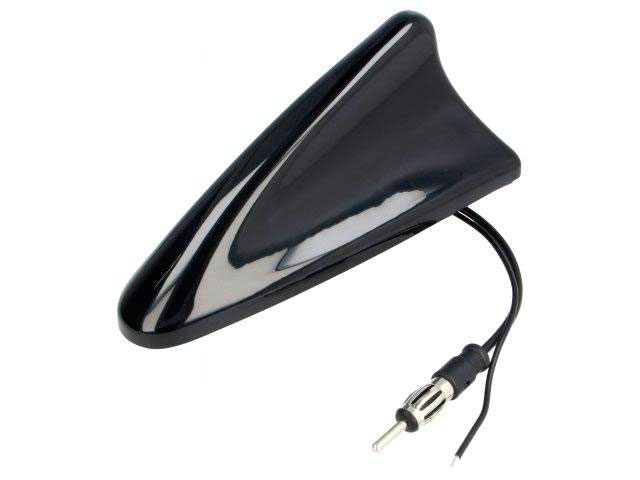 | Receiving module; Built-in amplifier; 5 meter signal cable; Mount with magnets. | Captures electromagnetic pulses of radio signals, converts them into electrical signals; High-quality assembly; Original design; High quality signal; It adheres well to the car body. | The manufacturer provides a small selection of colors for the device case. |
Triad MA 275FM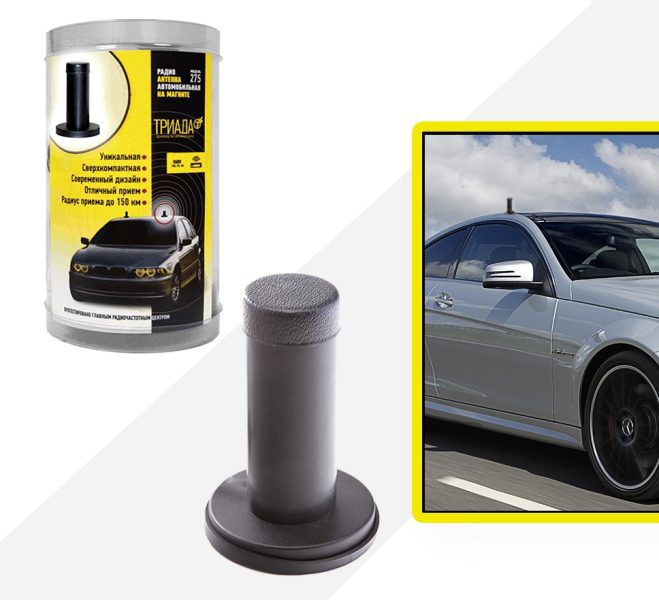 | Receiving module with a cylindrical body; Magnetic retainer (72mm diameter); 2.5m connecting cable; Built-in signal amplifier. | Stable radio signal reception at a distance of up to 50 kilometers from the repeater; Qualitatively assembled; Compact body of the receiving module; Equipped with VHF frequency inverter. | Short cable as for an outdoor antenna; Small coverage radius (considering signal transmission on flat terrain). |
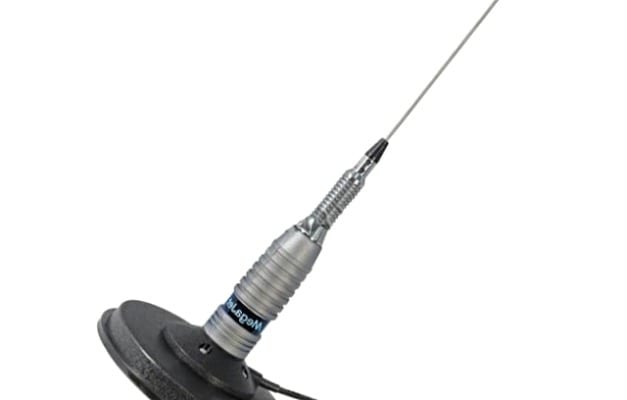
| Triad MA 86-02FM | Powerful magnet (diameter 8.6 cm); Receiving module; 3.0 meter coaxial cable; 70 cm rubberized antenna rod; Built-in signal amplifier. | Ability to receive NV signals in the presence of a broadcast; Reception radius - up to 150 kilometers; Large contour; Good build quality. | Short cable like outdoor antenna. |
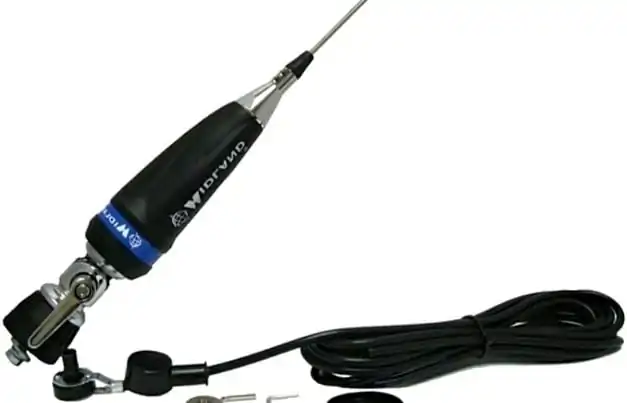
Prology RA-204 | Double tape; Receiving module with metal antenna rod. | A budget option; LED indication when turned on; Compatible with any car radio model; Fast installation; Reception of a radio signal at a distance of up to 80 kilometers from the repeater. | Short cable - 2.5 meters; The tightness of the fastening is not always worthy, so you need to additionally use a sealant. |
At the end of our review, we offer a short video about the basics of antenna devices:

If the receiver screen is already installed in the car, then you can additionally purchase the amplifier itself. Here is a video on how to connect it:

Questions and answers:
How to connect a passive antenna to a radio tape recorder. A passive antenna often does not have a shield. In this case, the central core is connected to the antenna itself (it is attached to the body through an insulator). The shielding part of the wire is fixed on the body near the insulator.
How to connect a retractable antenna to a radio tape recorder. In this case, the antenna will have three wires. Two of them are positive contacts, and one is negative. The antenna needs positive contacts for the drive to work. One for folding and one for pulling out. In such antennas, a special blocker is often used, which determines in which mode the radio tape recorder operates. When the driver activates the ignition, the radio is turned on, and a signal from the positive wire is sent to the antenna. Depending on the antenna model, it may be necessary to install a relay that distributes signals from the radio to raise / lower the rod.
How to connect an antenna from a walkie-talkie to a radio tape recorder. To do this, you need to purchase a special unit (Duplex Filter). It has one input and two outputs on one side (or vice versa). An antenna plug from the radio is inserted into the contact near which ANT is written. On the second side, a wire is inserted from the antenna itself, and a walkie-talkie is connected to the second contact. In the process of connecting the station, you must first connect the antenna, and only then the power wire, so as not to burn the receiver.